Get Smart with SmartArt
 Oh yum! You just have to love the new SmartArt tool in Office 2007. It is part of Excel, Word and PowerPoint it will probably be most used in PowerPoint because this is where you will most need to display large scale diagrams.
 SmartArt objects are great to use to illustrate processes, lists and the flow of information or product. In fact most business graphics can be created as SmartArt objects improving their look and readability.
In PowerPoint 2007, SmartArt objects can be created two ways either by converting a list or text selection into a SmartArt object or by creating the SmartArt object from scratch.
If you have an existing list or text you want to display as a SmartArt object, select the text and, from the Paragraph group on the Home tab in PowerPoint 20007, select the Convert to SmartArt Graphic button.
Select a graphic object to use for the text – you can preview what the graphic will look like by holding the mouse pointer over the graphic and see how the text will display in it on the slide underneath.
If none of the SmartArt designs listed are what you want, click the More SmartArt Graphics button to see more options. Right now, just look for a basic layout for your SmartArt graphic as the actual look of the graphic can be adjusted later on.
Edit the text
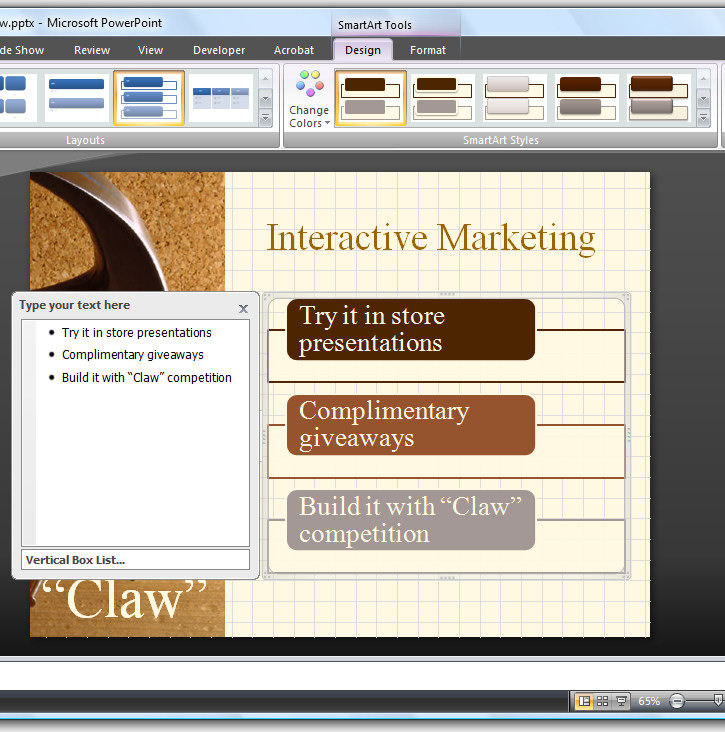
When you convert text into a SmartArt graphic you can edit the text by clicking on the SmartArt graphic, and select the double pointing arrows on the right hand border of the object to open the text dialog. Here you can type different text if desired or add additional entries each of which will become another element in the SmartArt design.
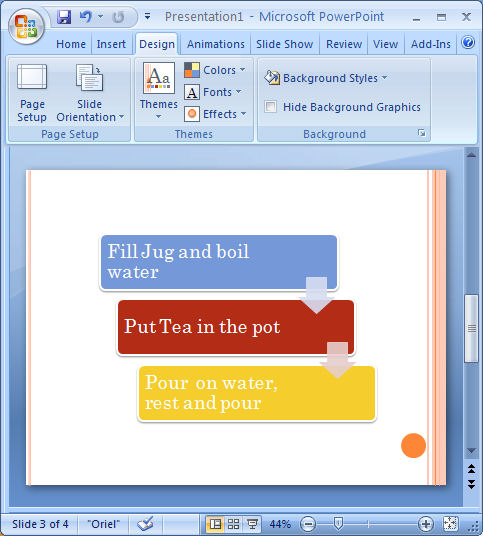
Once you have the text in place use the SmartArt Tools > Design tab on the ribbon to format the shape. The SmartArt Styles collection gives you a range of styles that you can choose from to apply to the graphic. If you find a style that you like but the color is not correct, apply the style and then click the Change Colors button and choose a different color scheme for the shape.
Create SmartArt from scratch
It is also possible to create a SmartArt graphic from scratch using the Insert tab. Click the SmartArt button and then choose a SmartArt design to use and you can then enter your text and format it to suit your needs. This is the same option you have in Excel and Word.
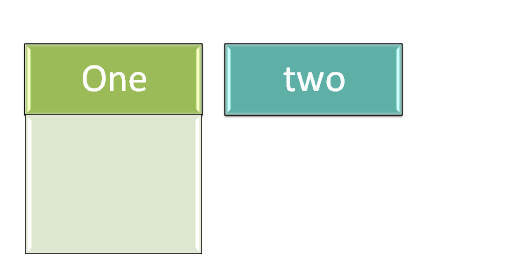
You can change the look of the text inside a SmartArt object by selecting the SmartArt object and, for example, change the text format to one of the WordArt styles in the WordArt styles list.
Having chosen a WordArt style you can then change the color of the style using the Text Fill options. Notice too that when you resize a SmartArt object the text inside the object automatically resizes to fit it.
Graphics in SmartArt
You will see that many SmartArt objects include containers into which you can insert graphics. To do this, click on the graphic icon in the SmartArt element and a dialog will open allowing you to select a graphic to use for that element.
Labels: Edit Text, graphics, power point, SmartArt, Word Art
posted by Projectwoman @ 12:54 PM
0 Comments
-
Links to this post
![]()
![]()