Articles | Photoshop blog | Photography blog | about me | e-mail

Helen Bradley - MS Office Tips, Tricks and Tutorials

I'm a lifestyle journalist and I've been writing about office productivity software for a long time. Here you'll find handy hints, tips, tricks, techniques and tutorials on using software as diverse as Excel, Word, PowerPoint, Outlook, Access and Publisher from Microsoft and other applications that I love. My publishing credits include PC Magazine, Windows XP mag, CNet, PC User mag, SmallbusinessComputing.com, Winplanet and Sydney Morning Herald.

Thursday, January 21, 2010

Word 2007: Drawing in documents

One technique that has changed with Word 2007 is drawing in documents.

Instead of having a Drawing toolbar you now select shapes from the Shapes dropdown list on the Insert tab.

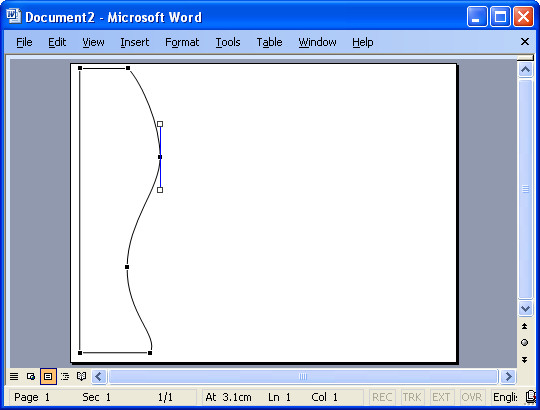
From this list you can select shapes such as lines and all the AutoShapes that you are used to using in earlier versions.

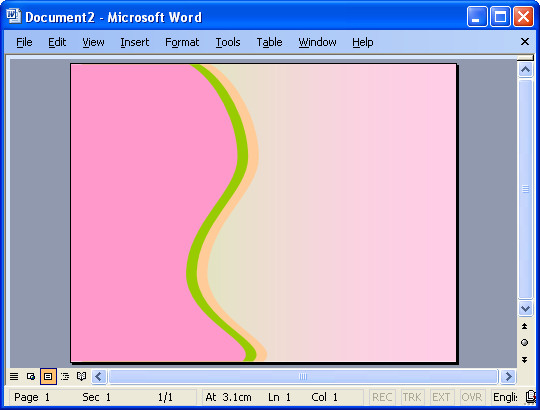
To create a drawing, for example, you can select and insert the shapes that make up the drawing and then format them using the Drawing Tools > Format options on the Ribbon.

Many of the color options that are available are connected to the theme colors so, provided you use a theme color in your drawn shapes, the colors will change automatically later if a different theme is applied to the document so the drawing stays consistent with the remainder of the document.

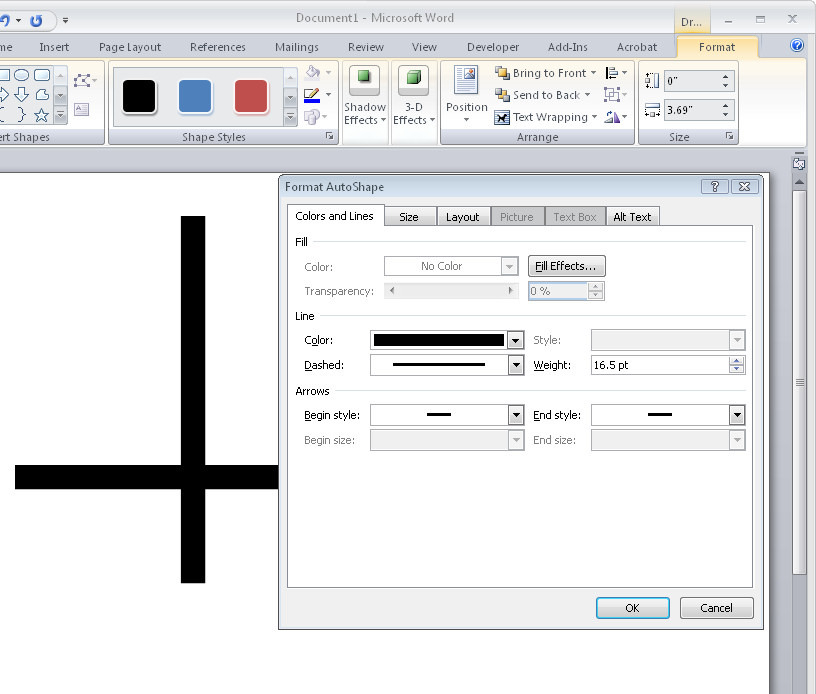
Find the shape formatting tools on the Drawing Tools > Format tab on the Ribbon.

What is missing in Word 2007 is the ability to right click a shape and have the format AutoShape dialog appear as it does in Excel and PowerPoint.

The Format tab and the Format Object dialog in Word offer less features than are available in the new graphics engine in the other applications.

Labels: , , , , ,

Add to Technorati Favorites

Friday, December 19, 2008

Drawing Organic Shapes in Word


I needed something cute for a magazine sample the other day so I decided to create an organic shape. I needed three edges to be straight and one rounded.

Here's how it’s done, it makes use of nodes and Bezier curves, fairly simple to do when you know how.

Start with a new Word document. Display the Drawing toolbar and choose AutoShapes > Lines > Freeform. Start in one corner and click once to begin. Click at each point around the shape so you'll have a polygon shape. If you hold Shift as you click you'll make a straight line and, if desired, it will be perpendicular to the previous one too. It's important you get straight sides and square angles when you want your shape to butt up against a page edge.


Click the shape to select it, right click and choose Edit Points. Control + Click on a point to delete it if you don't need it. Right click on a point that you want to be rounded and choose Smooth Point and then drag on the handles to shape it nicely.


When you're done, click outside the shape to deselect it. click it again and right click, choose Format AutoShape. Choose Line Color > No Line and choose your Fill Color. Hold Control as you click and drag on the shape to duplicate it and set the Fill Color of this one a different color. Repeat if desired.

To arrange the shapes, click one to select it, right click and choose Order > Send to Back to send it below the others. Choose Order > Send Behind Text to send it below the text. The second command is used to move the shape to the bottom layer of the document below the text. Use the first command to change the layer order of the shapes so they are stacked as you want them to be.

When you're done you should have a page that looks something like this, I sized the shape to fill the page and moved it to the edge of the page. I also added a gradient filled rectangle under everything just to finish it all off.

Labels: , , , ,

Add to Technorati Favorites

Wednesday, January 31, 2007

Align anything in Word

When you want to make sure everything on a Word page lines up properly, display the gridlines.

To do this, first display the Drawing toolbar then choose Draw, Grid and choose the Display gridlines on screen checkbox. Set the Use Margins option to start the grid aligned on the left and top margins. Set the value to 1 for small squares and to 2 or 3 for a larger grid.

If you select the Snap Objects to Grid checkbox all objects will automatically line up against the grid.

If you don't want this to be the case, press the Alt key as you drag an object and it will be freed from snapping to align to the grid.

Labels: , , , ,

Add to Technorati Favorites