PowerPoint 2007 Torn Photo Edges
One of the cool things about PowerPoint 2007 is the way that you can create fab photo edges with no work at all.
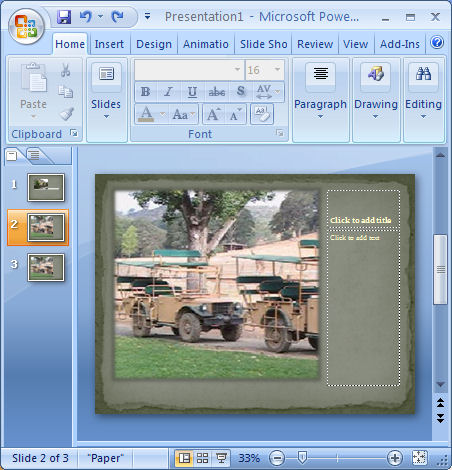
To see this at work add a new slide using the Home tab, click New Slide and then from the Layout list choose Picture with Caption. Now click on the icon in the middle of the slide to add your picture.
Go to the Design tab and choose one of the designs to use for your slide. You’ll see that designs like Opulent create a stacked photo effect, Paper creates a rough paper edge effect, Solstice creates an effect where the photo looks adhered with sticky tape (this is soooo cool!), Concourse has an interesting shadowed edge effect, Flow tips the image on an angle, and Foundry rounds the opposing corners.
From here you can click the picture and then click the Picture Tools, Format tab to add other picture effects to your image such as a reflection or soft edges.
There’s really an almost unlimited number of variations available. I dare you to stop at just using one!
Labels: images, PowerPoint 2007, slide, sticky tape, torn edges
posted by Projectwoman @ 10:12 AM
-
Links to this post
![]()
![]()

