Protect an Excel worksheet
When you create a worksheet for others to use the last thing you want is for them to clobber your formulas or mess up your design. To keep them from making changes to the worksheet, either maliciously or inadvertantly, protect the worksheet.
If you haven't protected a workbook before you may find the process of doing so a little confusing. First you hage to unlock the cells that you want your user to have access to. These will be the cells that they can make changes to such as cells they need to add data to. You do this because all cells, by default, are locked against changes.
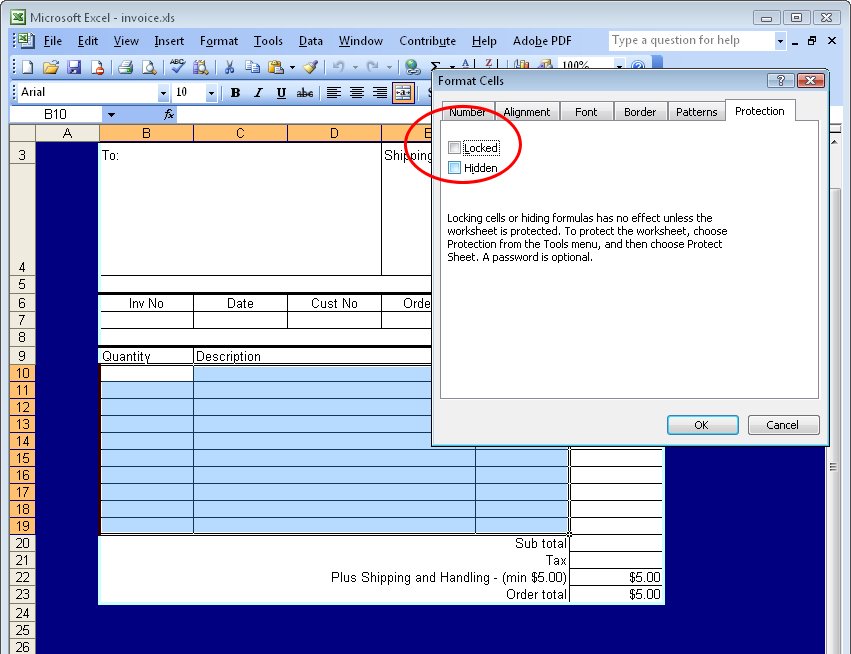
Select the cells the user should be able to change and choose Format > Cells > Protection and disable the locked checkbox.
Now choose Tools > Protection > Protect Sheet and, if desired, enter a password that will be required to unprotect the sheet so that it cannot be unprotected without permission. Click Ok and the cells that are locked — in other words everything that you didn’t unlock — will now be protected so that the user cannot change them.
The only cells your user will have access to are those that you unlocked for them to use. In this way, you can protect your formulas so that users cannot change them or overwrite them with fixed values which would render the worksheet potentially inaccurate.
Labels: Excel 2003, locked, protect a workbook, unlocked
posted by Projectwoman @ 4:42 PM
0 Comments
-
Links to this post
![]()
![]()

