|
|
|
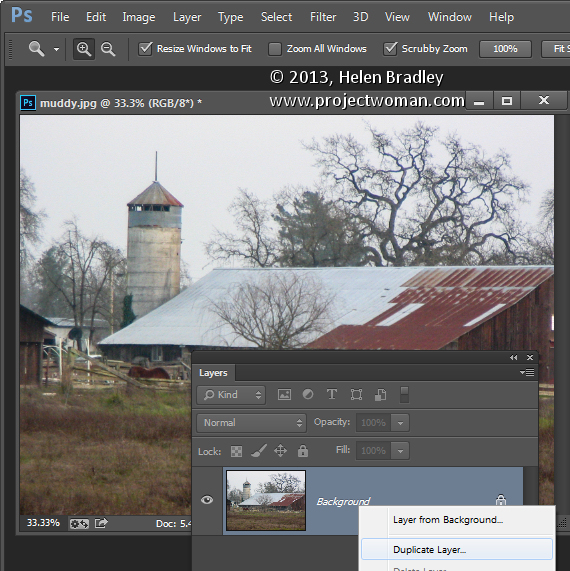
Photoshop: Replace a sky using Blend IFHelen Bradley How to easily replace a sky in PhotshopNot all images have picture perfect skies! If your images don't, then there are ways to fix this. Here I'll show you how to use the Blend If tool in Photoshop to replace a sky quickly and easily. If you don't have Photohop or if you need a different solution, head to the foot of this post for links to some other resources for replacing skies. The tool I am using is the Blend If tool which has been in Photoshop for years and it lets you blend layers together based on the colors or tones in the two layers. It can be used to replace a sky in an image by effectively making the selection for you so you don't have to do it manually. This alone can save hours of work - especially here where we have some very detailed tree branches to work around. To replace a sky, first open the image and duplicate the background layer by right clicking it and choose Duplicate Layer.
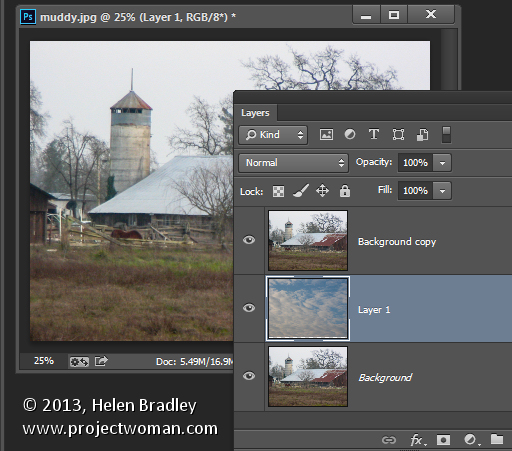
Now open an image of some sky to use for the fix. Drag the sky layer into the image you are working on. Move the sky layer so it is sandwiched between the two image layers. (You can drag and drop a layer from one file to another if both images are visible and, if not, use Select > All, Edit > Copy and then click on the image to paste the layer into and choose Edit > Paste). Choose a sky that is likely to blend well and which is close to the original sky - don't, for example, try to drop a bright blue sky in here - it just won't look right.
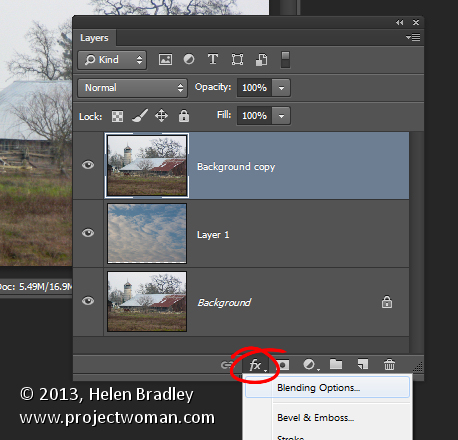
Click on the top most layer and, from the foot of the Layers palette click the Add a Layer Style icon and choose Blending Options.
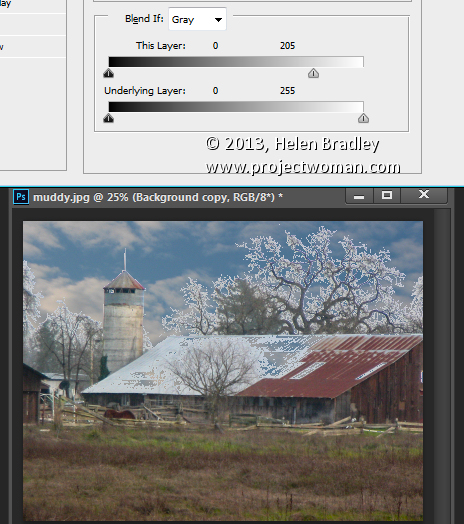
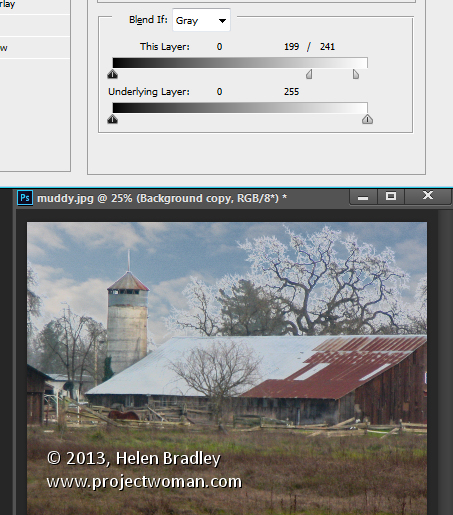
Make sure the Blend If: setting is Gray and drag the rightmost marker under the This Layer gradient to the left. This blends the layer underneath if the pixels in the topmost layer are light - in other words the blown out sky.
To make the change more subtle, split the marker in two by holding the Alt key as you drag one half of the marker away from the other. Once the marker is split, drag the two halves to get a good transition between the old sky and then new. Click Ok.
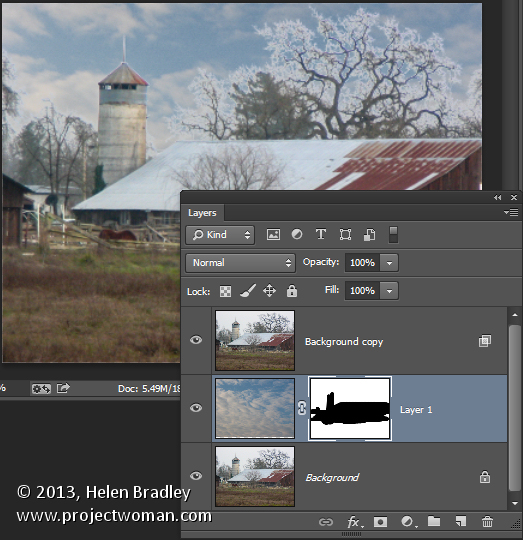
Now, if necessary, use a soft edged eraser brush to remove any unwanted sky which appears elsewhere in the image such as on the roof of the building here. If you prefer (and I think this is the better option), add a Layer mask to the sky layer and mask out the sky where you don't want it to appear. I used a mask here - the painting job is quite simple as you're only selecting the roof of the building and not the trees!
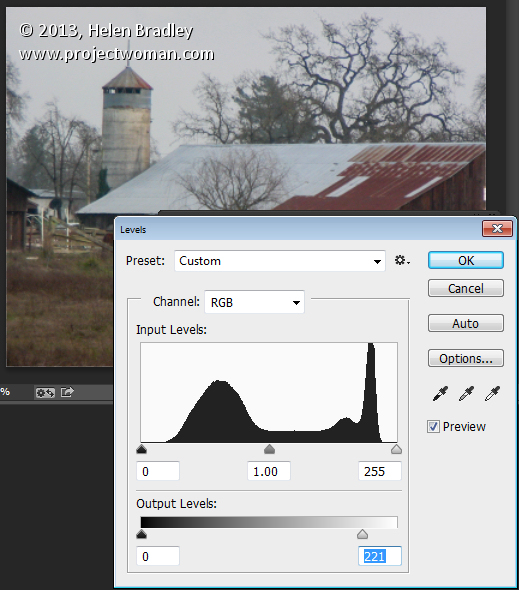
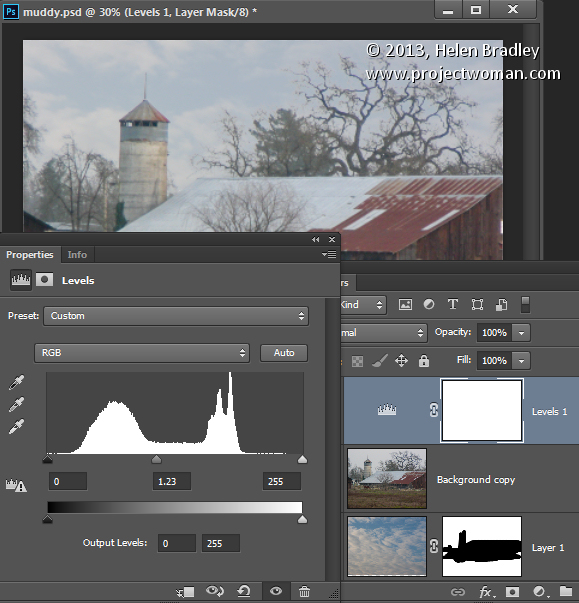
If you have a lot of fringing around the trees as I have in my image you can use a Levels adjustment on the topmost layer to fix this. Target the top layer and choose Image > Adjustment > Levels. Now adjust the right (white) slider under the Output Levels gradient to remove the white fringing. Ignore the fact that you just killed your sky!
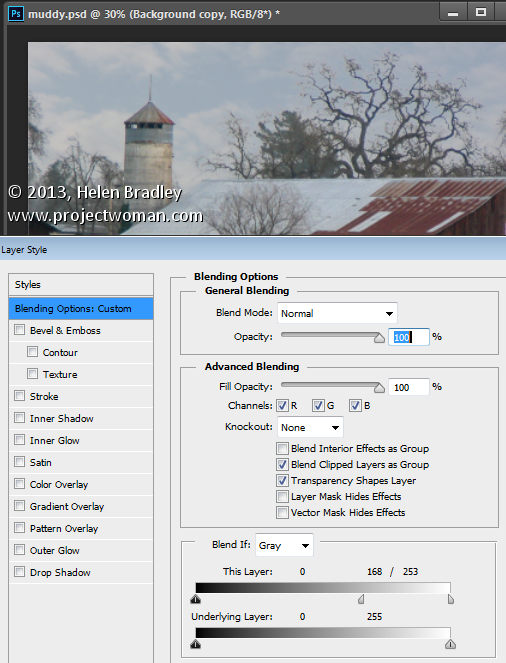
You can then go back and adjust the Blend If sliders a little to get rid of the fringing and bring back the sky.
Finally, as I have darkened the overall image more than I wanted to, I use Layer > New Adjustment Layer > Levels to lighten the midtones!
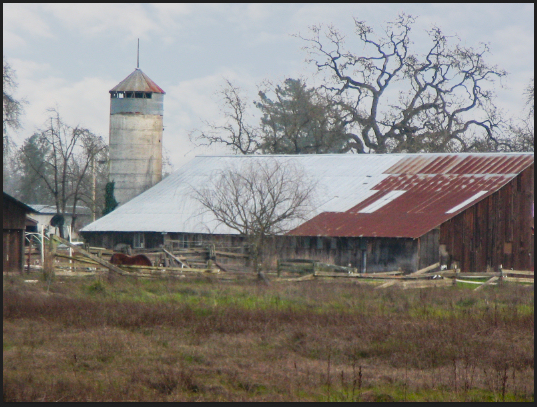
Here is the final result:
More Replace a Sky in Photoshop resources
Replace a sky in Photoshop - Youtube video Remove fringing when replacing skies in Photoshop (an alternate method) - Youtube video
|
|
|
(c) 2019, Helen Bradley, All Rights Reserved. |