|
Create an eBook template in Word
 Here's how to create your own custom eBook template in Word. Here's how to create your own custom eBook template in Word.
EBooks created as PDF files are a handy way to distribute information on the web.
Here I'll show you how to make a customisable eBook template in Word.
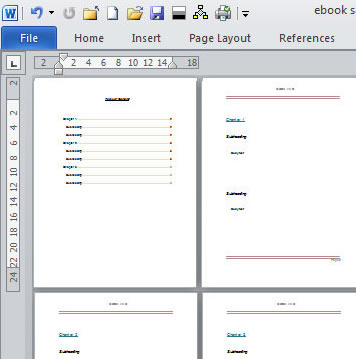
I'll design the template with a cover, table of contents and chapters already in place and use Heading styles so the table of contents is easy to create.
Getting Started
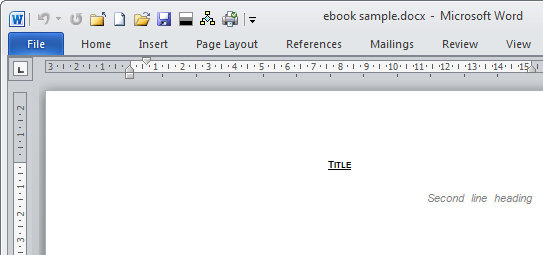
Start with a new document and type text placeholders for the book's cover details.
This data includes the book title, a second line of information, the author name and any other information for the cover.
Format the title using Title style, the second line using Subheading style and use Emphasis for the Author and other information.
Add new pages
To force a new page choose Page Layout > Breaks > Page Break. Type Table of Contents at the top of the page and then choose References > Table of Contents > Insert Table of Contents and set your table of contents to Levels: 2 Levels and click Ok.
Right now you have no data for the table and you'll be warned about this. Force a new section by choosing Page Layout > Breaks > New Page.
Creating Chapters
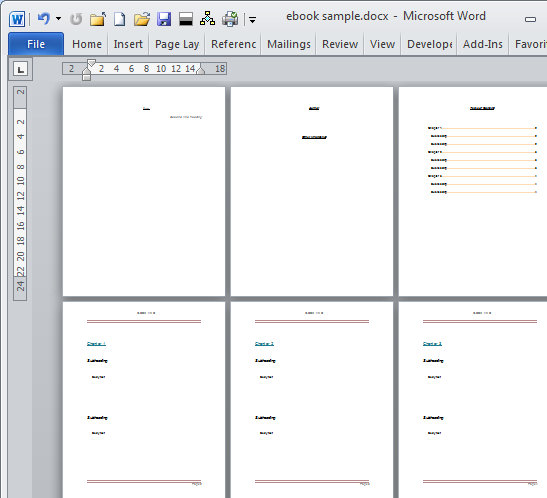
To create the first chapter, type Chapter 1 and format this using Heading 1 style. Add a subheading and format it by pressing Control + Shift + S to display the Apply Styles dialog, type Heading 2 and click Apply. Below this type a placeholder for the body text and format it with Normal style.
If you intend using multiple subtitles within a chapter, copy the subtitle and body text prompts and paste them multiple times into the page.
Add Section Breaks
Create another section break by choosing Page Layout > Breaks > Next Page. Repeat the process of inserting the chapter title, subheading and body text for Chapter 2 and format them using Heading 1, Heading 2 and Normal styles.
Create Chapter 3 the same way and then include a note in the eBook template telling a user how to create subsequent chapters for their book.
Add headers and footers
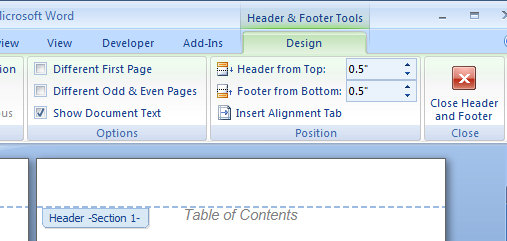
Choose Insert > Header and select a header layout and then choose Insert > Footer and add a footer with page numbers. Type the data that you want to appear in the header into the header.
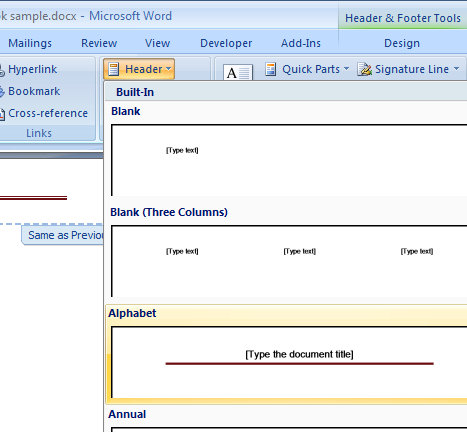
To remove the heading from the first two pages, choose Header and Footer Tools > Design to display this tab. Move to the top of Chapter 1 and click Same as Previous to remove the link to the earlier header. Repeat this for the footer. Delete the header and footer from the cover page.
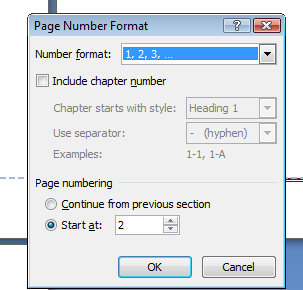
Move to Chapter 1, click in the footer and select the page number. Choose Header and Footer Tools > Design > Page Number > Format Page Numbers. Enable the Start At option button, set it to 1 and click Ok. Click in the Table of Contents and press F9 to update it.
Save the template
Save the file as a template by clicking the Office Button > Save As > Word Template, type a name for the template and, if Word does not default to showing your templates folder, click Templates in the Favorite links in the top left corner of the dialog. Save your file.
In future you can create a new file based on the template by clicking the Office Button > New > My Templates and double click your template.
Restyle the E-book template
You can change the look of your ebook by changing the styles. From the Home tab, click Change Styles > Style Set and choose a new style set. You can also change the document Theme, Colors and Fonts from the Page Layout tab.
|

