|
|
|
|
Design a PowerPoint Navigation System
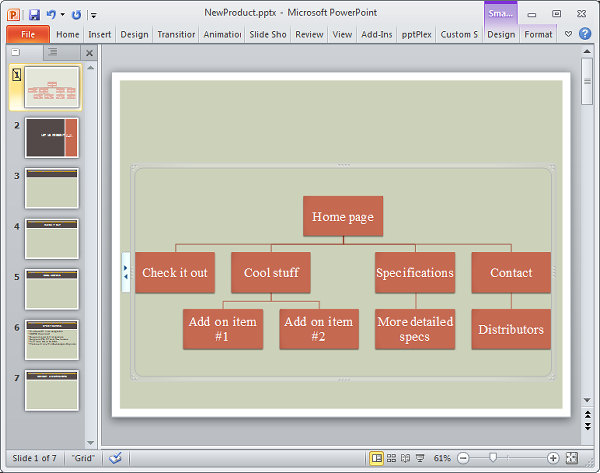
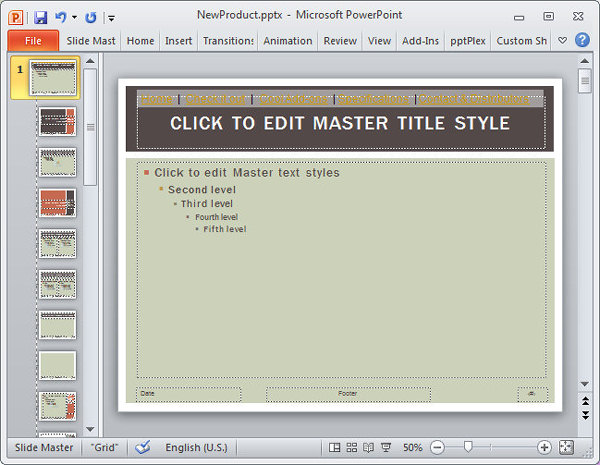
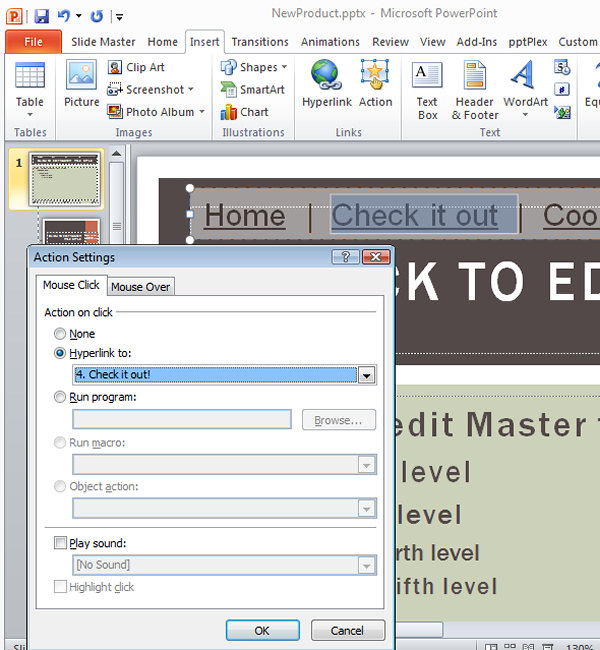
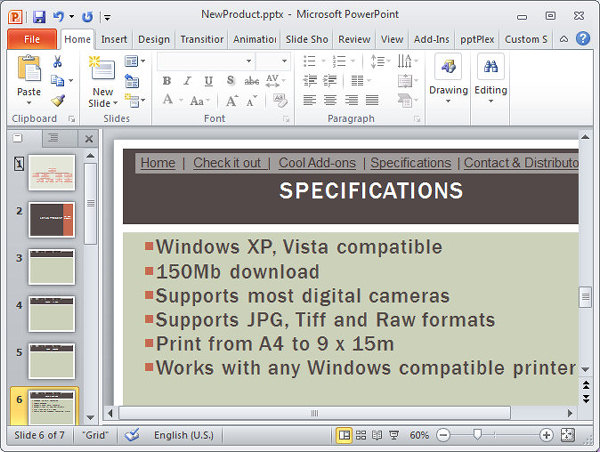
Not all your PowerPoint presentations will be made to an audience. Many are destined to be watched by a person sitting at their computer and you won't be there to help them navigate through it. This has implications for you as the presentation designer – you need to make it easy for a user to find their way around and you need to give them plenty of reasons to click on and work through all the aspects of the presentation that they are most interested in viewing or that you need them to see. This month I’ll show you how you can leverage what we know about web design to create a presentation that is easy to navigate. Design like the web Make sure there are plenty of ways to move around the presentation and that the metaphors that you use for presenting navigation options are those that your audience will understand. This is not a time to be esoteric or cutting edge – don't bury navigation options where they can't be seen. Use underlined text only for links and make sure items that are clickable look like they are clickable. On the flip side, make sure elements that aren't clickable don't pretend to be so. Don't assume your viewers are PowerPoint experts – they may not be, and they may not even realise that the presentation is a PowerPoint one. Give them tools they need to navigate to the areas of the presentation they want to view and some way to get back to where they have come from. Borrowing the essence of a web design navigation system for your presentation you will need a home page or 'mission central' that contains links to all other parts of the presentation and which contains brief detail describing the presentation and the various areas. Each slide should contain clear links to the next slide in the sequence (if this is appropriate) and to the home page and other key sections of the presentation. Harnessing the power of the Slide Master Once you have done this, create the barebones of your presentation by creating slides for the main areas of your presentation. You can add other slides that are on a lower hierarchical level later on.
Step 1
Step 2
Step 3
|
|
|
(c) 2019, Helen Bradley, All Rights Reserved. |


 Learn to create a presentation that is viewed rather than being made...