|
|
|
|
PowerPoint Animations - Getting Started
The PowerPoint animations task pane lets you create a range of custom animations in PowerPoint. In this article, I'll show you how to create some animation effects and how to layer objects so the animations look as they should. Getting Started
Once you have created the animation it will display this logo on a slide and it will then disappear within a few seconds of the slide being shown. This is a handy way to badge your slides with your company logo without visibly overshadowing the slide content. A simple animation
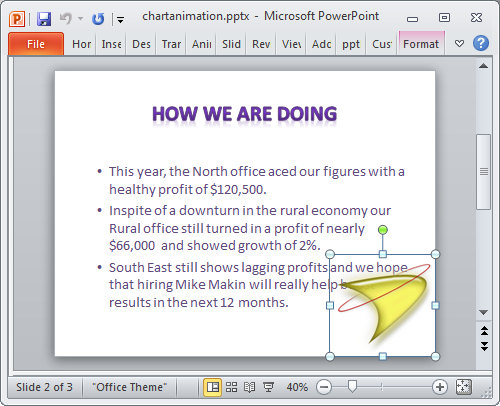
Click on the image and choose Animations tab and, from the Animate dropdown list choose Animation Pane to display the Animation taskpane. To have this image disappear after a few seconds, from the Animation panel's Exit options, choose Fade. If Fade isn’t in the list, choose More Exit Effects and locate the Fade effect in the effect collection. Right click the entry in the custom animation pane and choose Show Advanced Timeline. This shows an orange bar indicating how long the animation will play for.
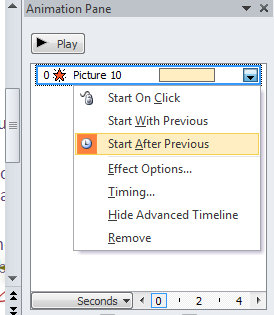
You can drag the animation end point to change where the animation finishes. Right click it and choose Start After Previous to ensure that it begins when the slide first appears. Click the Slideshow button to preview the slideshow and watch the animation play. The logo will disappear within a few seconds of the slide appearing.
More complex animation
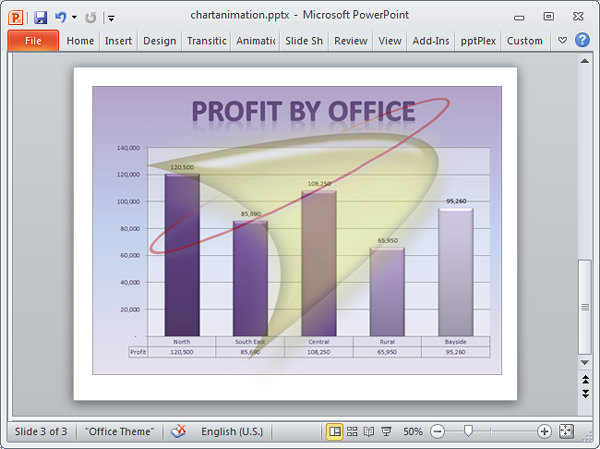
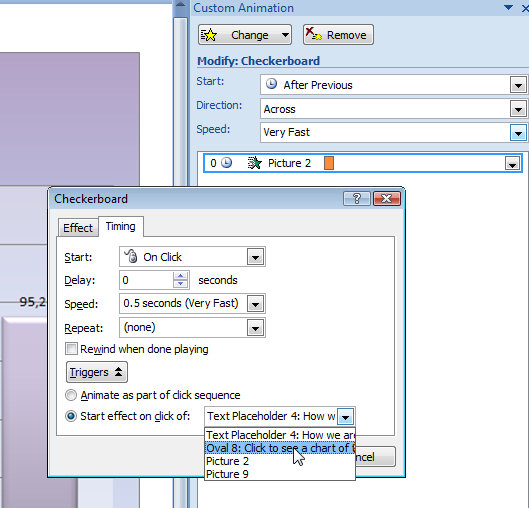
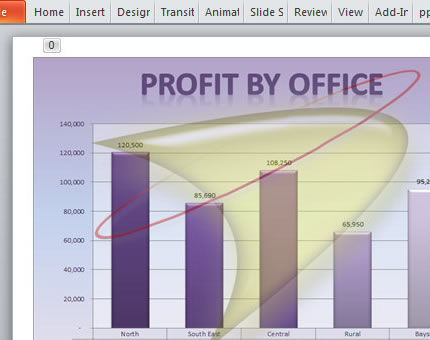
To animate it so it appears a few seconds after the slide appears, select the image and from the Custom Animation task pane choose Add Effect > Entrance and choose Fade. Right click the object in the task pane and choose Start After Previous. Click the Slideshow button to preview the effect. To ensure that the logo appears on top of other objects on the slide, select it, right click and choose Bring To Front > Bring Forward. The ordering of objects on the slide affects not only their visibility but also if they are clickable – an object hidden under another cannot be clicked. Click a shape to run an animation
|
|
|
(c) 2019, Helen Bradley, All Rights Reserved. |


 Here's how to create animations using the Microsoft PowerPoint custom animation pane...