|
|
|
Photoshop - Color matching photos
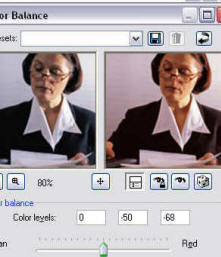
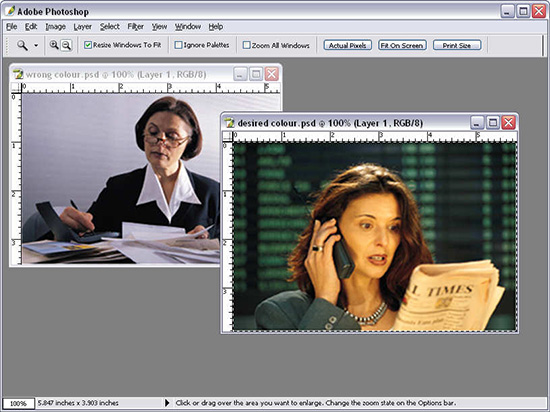
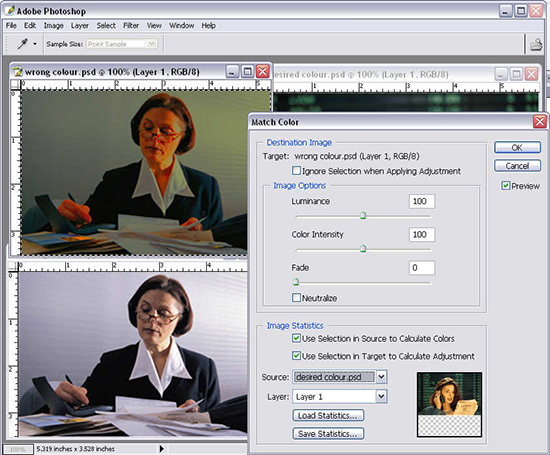
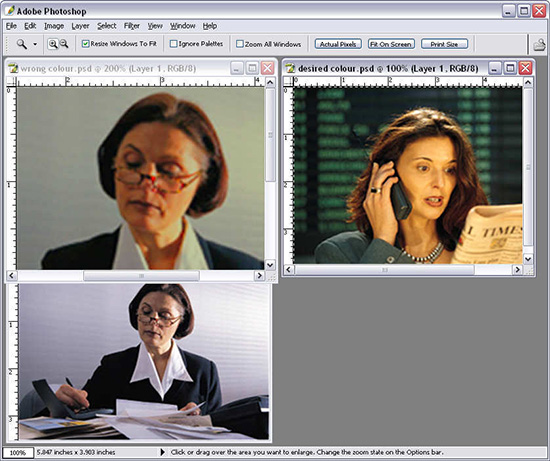
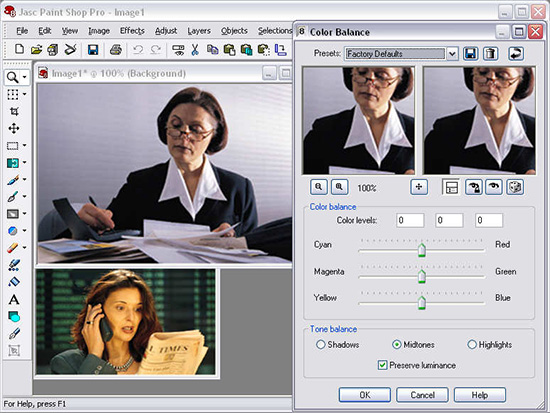
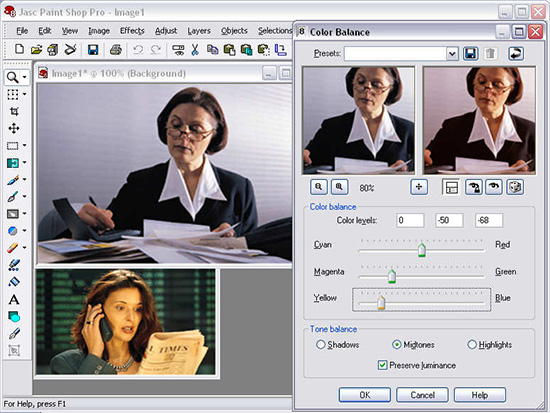
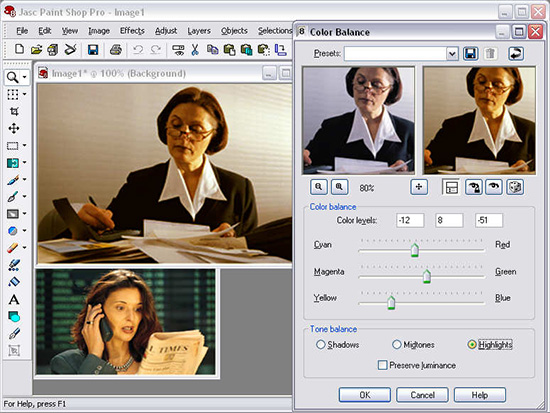
Helen Bradley Use Color Matching to create photos that look like they've been taken in similar light.When you're using a series of photos in a single document and when they’ve each been taken in different light conditions, you may want to adjust the tones in them so they look better matched on the page. To do this, settle on one image with tones you'd like to see reproduced in the other images. Here's how to use these tones to correct all your photos – we'll show you how this is done in Photoshop CS and in PaintShop Pro. Step 1In Photoshop CS, you can match tones automatically using the new Match Color tool. Begin by opening the images to work with. On the left is the image which we will fix and on the right is the one with the warmer colours that we want to match. Step 2Use Image, Duplicate to duplicate the original image so you can compare the results. Click the image to fix and choose Image, Adjustments, Match Color. From the Source list, choose the image to use to match the colours to. Step 3The effect will probably be too strong. To adjust it down, use the Color Intensity slider to remove some of the saturation and, if desired, use the Fade slider to adjust the effect to a lesser amount. When you're done, compare the results and save your newly fixed image. Step 4To achieve the same result in PaintShop Pro, open both the image to alter and the one to base the colour correction on (you'll use this second one as a visual reference). In PaintShop Pro there is no automatic correction so you must do it manually - start by selecting the image to fix and choose Adjust, Color Balance, Color Balance. Step 5Select the Midtones option and now use the sliders to adjust the colour. Adding yellow removes blue, adding magenta removes green and adding cyan removes red (and vice versa). When you have the midtones adjusted click the Shadows option and adjust the shadows. Step 6When you're done with the shadows, use the highlights option to adjust the highlights. You might have to return to tweak the midtones, highlights and shadows again to fine tune the results. When you have a look that you like, click Ok to confirm the change to your image.
|
|
|
(c) 2019, Helen Bradley, All Rights Reserved. |