|
|
|
Drawings in Word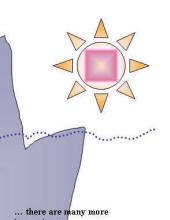
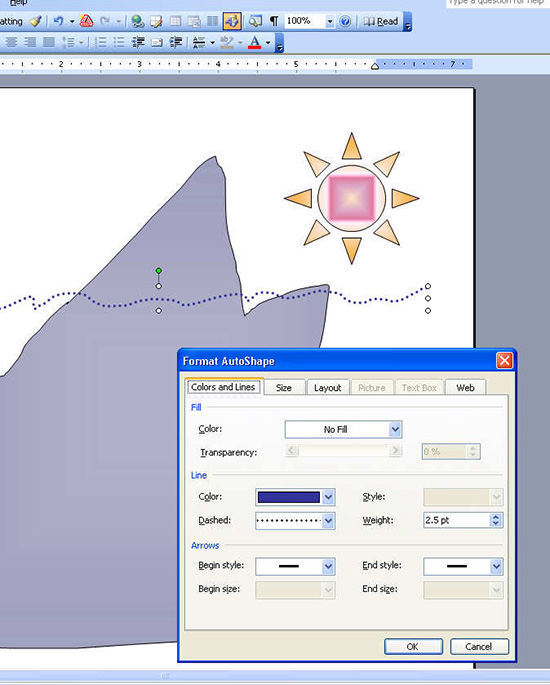
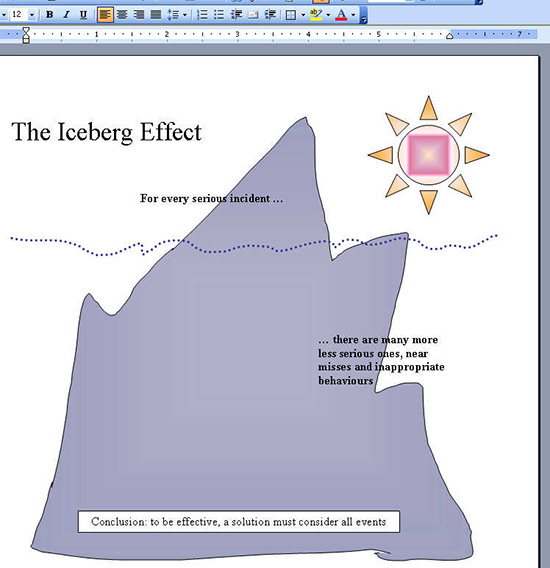
Helen Bradley How to create drawn images in your Word documentsWord's tools for illustrating your documents don't begin and end with pictures and clip art. Word also includes drawing tools that let you add drawn elements to your documents and even create maps and other diagrams to illustrate your work. You can even combine drawn elements with clip art to create your own diagrams. In this column you'll learn some of the tools that Word has available and some tricks that will make it easy to work with drawings in your documents. The step by step example shows the basics of combining a clip art image and drawn elements in Word. This image, when complete, will contain a series of drawn elements and your clip art object. If you don't group these together they can be individually selected and moved and this won't generally be desirable as it means the image is too easily destroyed. To group the objects, click the Select Objects button on the Drawing toolbar and drag over all the objects that make the image (you should drag a little outside all of them to ensure they are all selected). Now right click the selection and choose Grouping, Group. This ensures all the objects are grouped together so they move and size as one. If necessary, you can ungroup them to make changes and then regroup them when you are done. When creating drawn objects you have many of the colouring features available in Word available. Right click a shape and choose Format AutoShape and then choose the Colors and Lines tab. From the Fill Color palette choose Fill Effects and you can choose to fill a shape with a gradient, texture or a picture which can be an image you have in a file on your disk, such as a photo. You can also use the Transparency options to vary the transparency of each object so some are partially transparent and so you can see images below through them. To alter the layering of drawing objects, right click an object and choose Order and then choose a layering option such as Send to Back or Bring Forward to adjust the layering of objects over the top of each other. To make a doughnut shape, for example, place a smaller circle over a large one and set the smaller circle's fill colour to white. You can also add text inside many shapes – to do this, right click the shape, choose Add Text and type the text to appear inside it. Drawing in Word - Step by StepStep 1 Display the Drawing toolbar by clicking the Drawing icon on the Standard Toolbar. Choose AutoShapes, Lines, Freeform and draw an iceberg shape, double clicking over the starting point to close the shape. Choose AutoShapes, Basic Shapes, Sun and draw a small sun. Right click each shape in turn, choose Format, AutoShape and configure a gradient fill for the shape.
Step 2 To add the sea line, choose AutoShapes, Lines, Scribble and draw a freehand line across the iceberg shape. Right click the line, choose Format AutoShape and set the line colour to blue and set it to a thick dotted line. To edit the line you can right click it and choose Edit Points and edit each node individually.
Step 3 Add the text elements using text boxes. Format and size the text in the boxes to suit the image. To make the text boxes transparent so the underlying image is visible through the box, right click each in turn and choose Format Text Box. From the Colors and Lines tab set the Fill Color to None.
Top TipBy default, Word 2003 creates a new drawing canvas for you whenever you click to create an AutoShape in your document. Many users prefer to disable this feature and you can do this by choosing Tools, Options, General tab and disable the 'Automatically create drawing canvas when inserting AutoShapes' checkbox. |
|
|
(c) 2019, Helen Bradley, All Rights Reserved. |