Office tips blog |
Photoshop/Photography Blog |
About me |
e-mail
|
Photoshop: Image editing with masksHelen Bradley 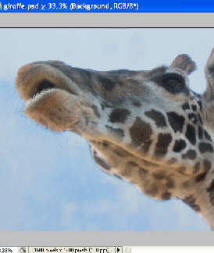
Photoshop offers a range of masks for editing images as Helen Bradley explains.When you first encounter them in a graphics package, masks can seem a confusing tool. It's not entirely obvious what they do or why you'd bother using them. Most of the results you can achieve using a mask look, at first instance, like they could be achieved with just editing the image in the normal way. Where masks come into their own is that they’re editable so you can apply a change to the image then later come back and remove it or alter it. Masks offer a high degree of flexibility when making changes to an image and for this reason alone they're a worthwhile addition to your editing toolkit.
Quick Mask mode Before we look at using masks to edit an image, lets consider the situation where you will use it to make a selection. The Quick Mask Mode lets you paint to make a selection on the image. It's useful when you have an image that doesn't lend itself to making selections using the regular selection tools and it's also a method of making less than 100% opaque selections. Using Quick Mask you can make a selection which is only 50% opaque, for example.
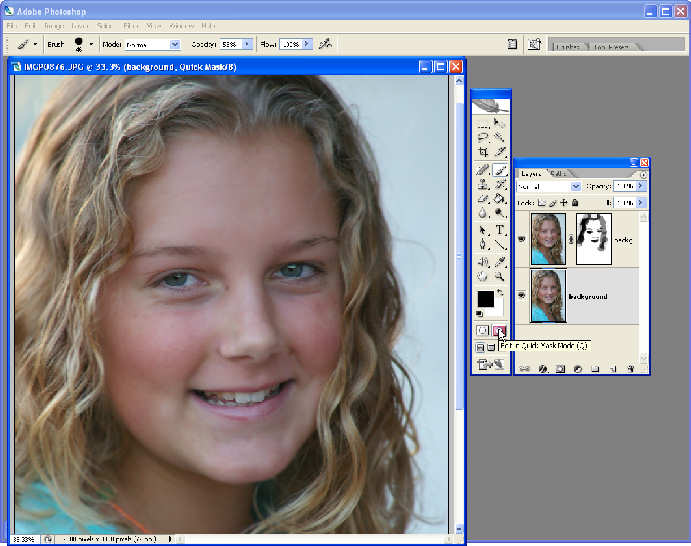
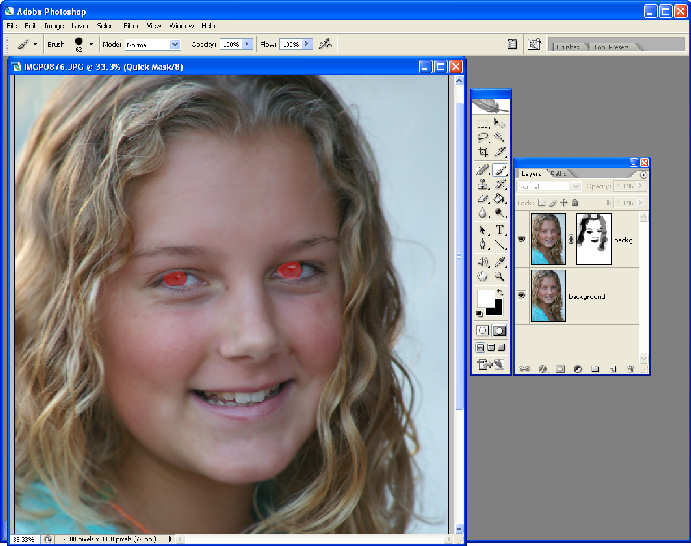
The step by step shows an example of the Quick Mask mode being used to select the pupils of the eye so they can be adjusted using an adjustment layer. To make the selection, click the Edit in Quick Mask mode button in the tool palette or press Q. Paint onto the image with black to paint on the ruby mask. Paint in white to remove it and paint with grey to partially select an area – dark grey works more like black and light grey works more like painting with white. Everything that is not ruby colour will be selected, everything that is the ruby colour will remain unselected (if the ruby colour is light rather than dark then these pixels will be partially selected). You can easily invert this later on so paint on the area that makes sense to work with.
When you're done, press Q to return to working on the image or click the Edit in Standard Mode button in the tool palette. What wasn't ruby colour will be selected, to reverse this, choose Select, Inverse.
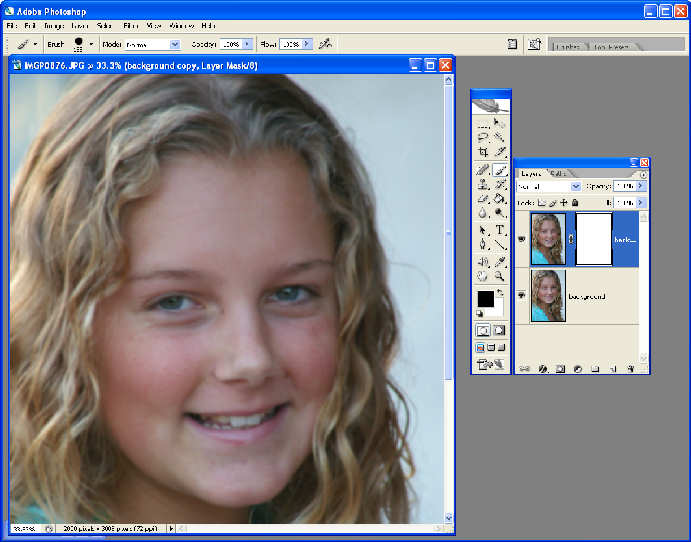
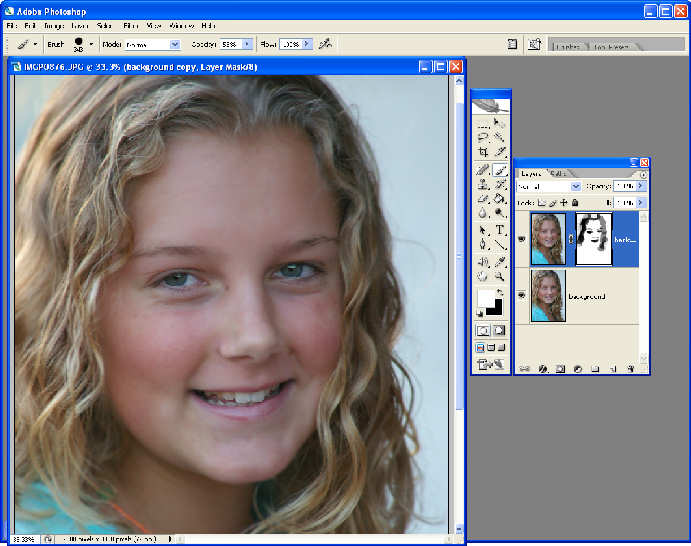
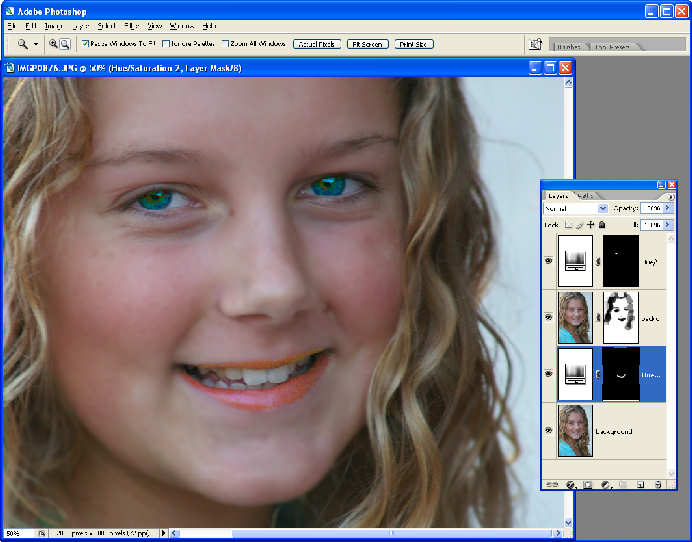
Editing with masks The step by step shows some ways to edit an image using a mask. There I've used it to adjust the skin tones to make them more even and to select the eyes and lips to increase the image saturation.
However, that's not all you can achieve with masks. Consider the giraffe image in the figure, it was a good image but the original lacked a really blue sky background that would enhance it and make it a much better. To fix this, add a layer containing some sky borrowed from another image - I like to shoot clouds and skies on a regular basis and add these images to a folder called skies so there's always some sky to borrow when I need it. To add one image to another, open both in Photoshop and drag a layer (the sky) from one image and drop it over the target image.
Make a selection around the giraffe on the background layer and add an inside feather to it. Select the sky layer and click the Create Layer Mask button. Now fill the selected area (the giraffe shape) with black paint – the giraffe will appear through the sky layer. You can tone down the sky a bit by inverting the selection and fill the sky area with a light grey – you'll get less of the blue sky and it will blend better with the image below. Finish the image by doing some work around the edges of the giraffe by editing the mask to ensure there's a smooth transition between the giraffe and the sky behind and you don't have a fringe around it.
Using a layer mask on one layer you can apply a second image over the top of another image – here a replacement sky is added to the image.
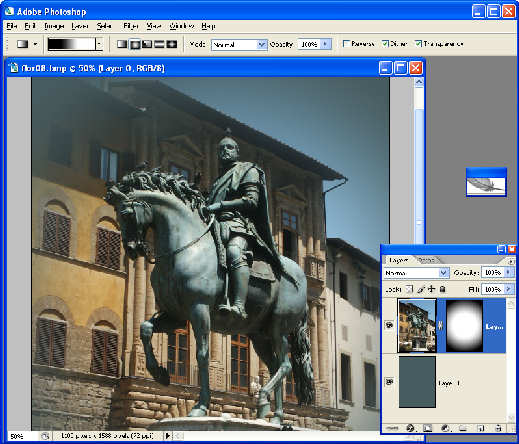
Create a vignette Another technique you can apply to an image using a mask is a vignette effect using a gradient. Select a white to black (or black to white) gradient and select the image layer to apply the effect to. You can't apply masks to the background layer so, if you need to do this, first convert it to a regular layer by double clicking on the background layer and click Ok. In this situation you'll probably need to add a filled layer below so you have something to see through to. Now add the mask layer and fill it with the gradient – provided the fill is white in the centre and black on the outside you will have a vignette effect in place. If the fill is the wrong way round, select the layer mask and press Control + I to invert the colours.
Using a layer mask filled with a gradient you can create a vignette effect on an image and see through to any coloured layer underneath.
Using a clipping mask One other form of mask is worthy of note and that is a clipping mask. This is a means to apply an adjustment layer effect to only one layer in the image and not to all layers below the Adjustment layer. To put this into effect, select the layer to apply the adjustment layer to and choose Layer, New Adjustment Layer and choose the type of adjustment to apply. When you've configured the adjustment, click the adjustment layer in the layer stack and choose Layer, Create Clipping Mask – the layer below will be inset to the right in the layer stack and the adjustment will be limited to only that layer. You can get the same effect by holding your mouse over the border between the two layers, hold the Alt key and the mouse pointer will alter to show two overlapping circles, click once to create the clipping mask.
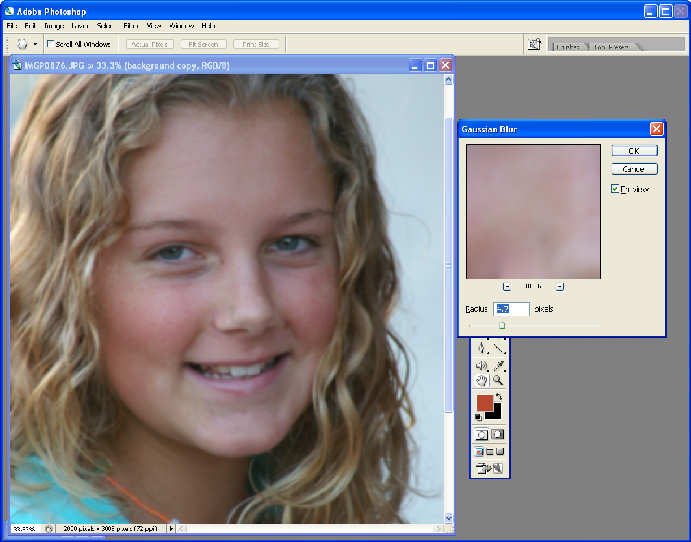
Retouching a portrait using masks Here are some techniques for using masks to edit an image:
Step 1
Step 2
Step 3
Step 4
Step 5
Step 6
(c) H Bradley, 2007-2009 |
|