Office tips blog |
Photoshop/Photography Blog |
About me |
e-mail

|
Photoshop - Fantastic effects with GradientsHelen Bradley 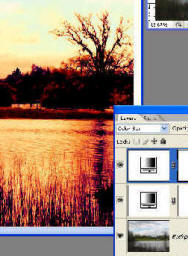
Helen Bradley explains how you can use gradients to create interesting effects when editing your photos.The Gradient tool in any
graphics software is often overlooked because it appears as if it is a
tool more useful for painting or drawing and not one with application to
photo editing. Nothing could be further from the truth and, if you're
using a graphics program to edit your images, you'll find the gradient
tool offers lots of creative possibilities. Here I'll look at the
gradient tool in Photoshop and show you some handy ways to put it to
work in your photo editing workflow.
Gradients are all around us in nature. When you look at the sky you don't see a solid blue colour but rather a smooth gradient of colour ranging from light blue at the horizon through to a deeper blue overhead. So, if you try to replace a poor sky in a photo with a block of solid blue, you'll notice that it doesn't look too good. If, however, you use a light blue to darker blue gradient – the result will look more realistic.
To do this, double click the background layer of your image and click Ok to convert it into a regular layer. Make a selection around the sky to remove, add a small feather to it and click Delete to remove it. Now add a layer below the image and locate the gradient tool in the tool palette. Select a light blue to darker blue gradient and drag across the new layer with your mouse to fill it with the gradient. If the gradient is wrong, immediately drag again to replace it. If you drag in the opposite direction you will invert the gradient and you can drag off the edge of the image if needed. Where you start dragging also has an effect on the final result.
Use a white to blue gradient to replace an unattractive sky in an image.
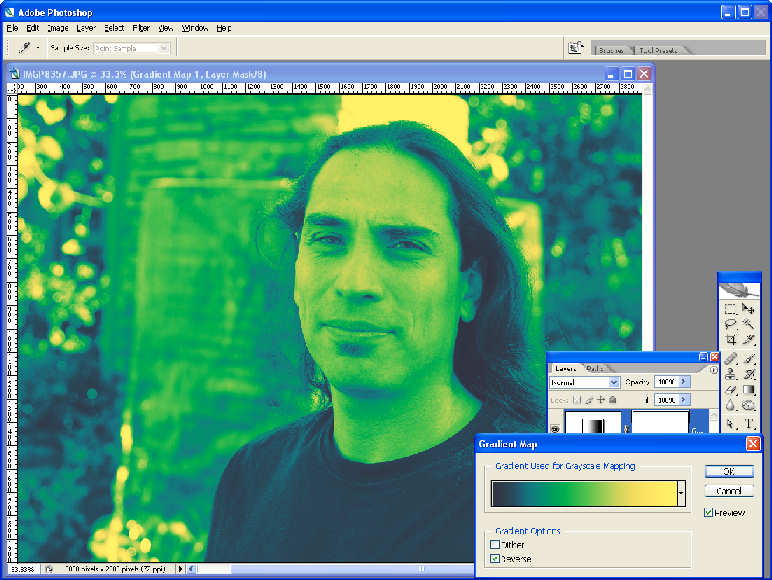
When you have the gradient tool selected you can select a gradient to use and then alter it to suit your purposes. To do this, click the Gradient on the tool palette (not the dropdown arrow). This opens the Gradient Editor. To alter the start or end colour, click the indicator to change (this is below the gradient bar), and choose a colour from the colour picker. You can add another colour – or create a portion of the gradient where the colour doesn't change by clicking under the bar to add another marker. To adjust the point at which the gradient changes, drag the small diamond shape to the left or right – this gives a sharper change at one end of the gradient. The markers across the top are the opacity settings which you can alter too – so you can, for example, have a gradient that goes from transparent to fully opaque white.
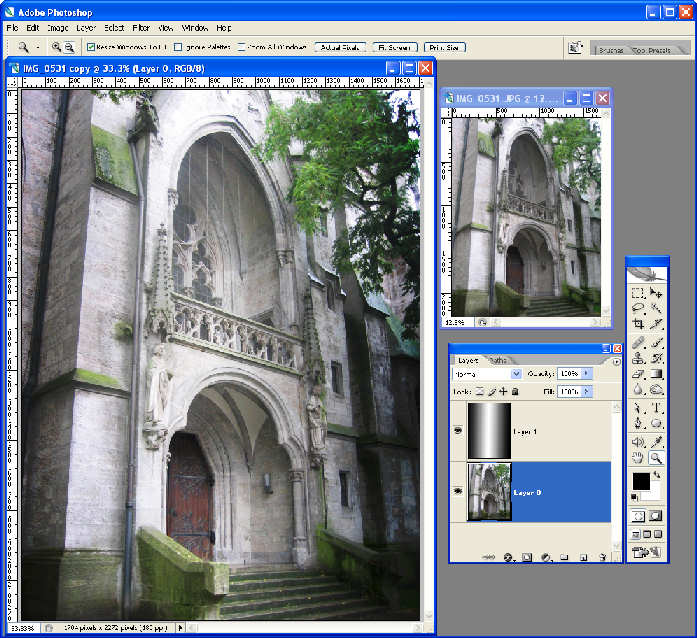
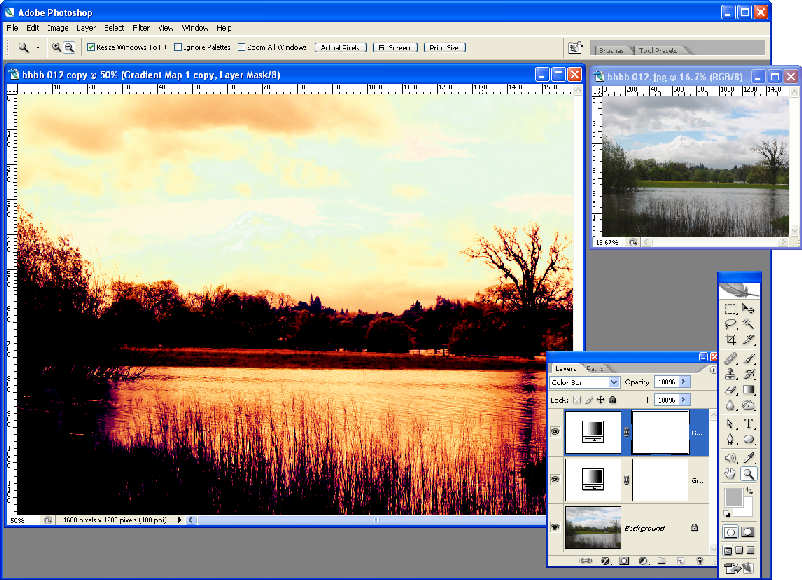
There are other uses for gradients other than for replacing skies. You can, for example, darken an image or lighten it in a graduated way by creating a layer, fill it with a gradient then blend it into the image layer. The example shown here uses a white to black gradient blended into the image using an Overlay blend mode to lighten the centre of the image and darken the edge giving it a vignette look. The shape of the gradient used here is a Reflected gradient – there are other shapes you can use including the more typical Linear gradient which is applied in a line from one end to the other and a Radial gradient that is circular in shape.
You can use a gradient fill to lighten the centre of an image and darken its edges.
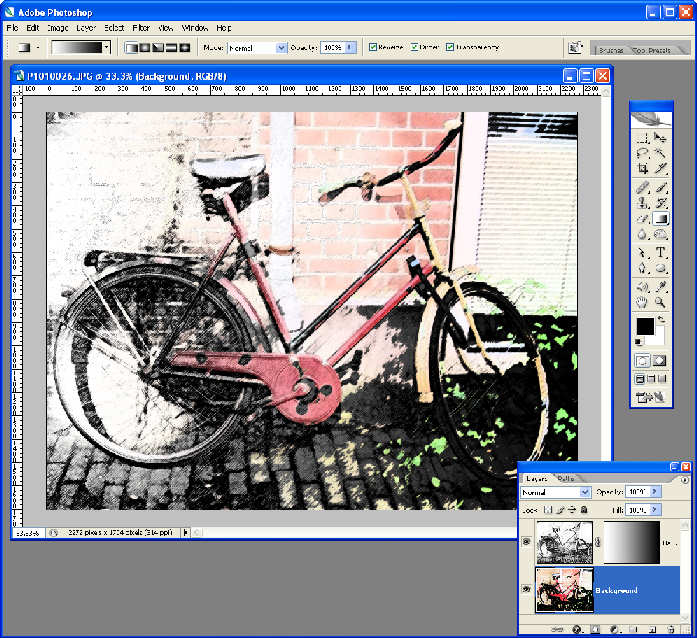
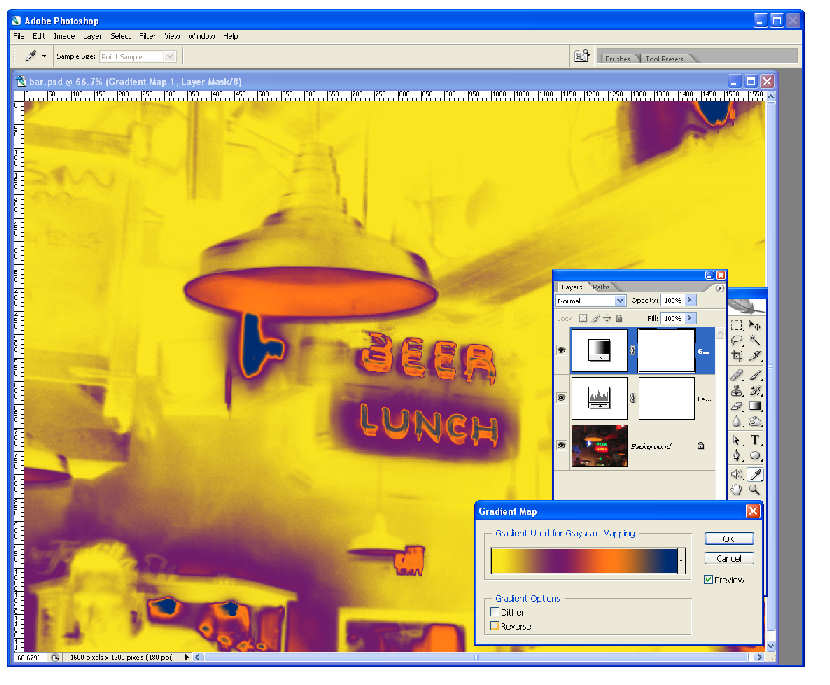
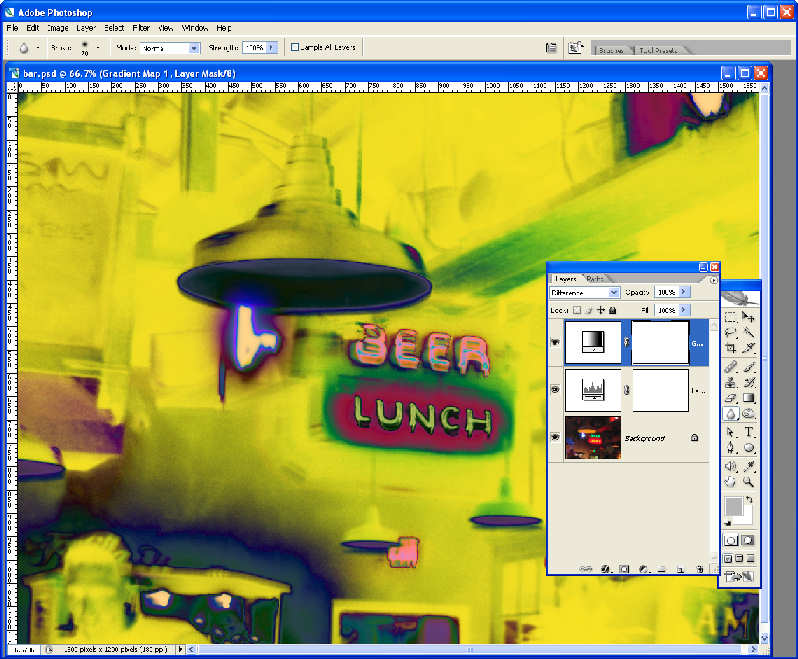
Gradients are handy for creating art with your photos. If you enjoy using filters on your images, you'll love the results you can get by blending them using gradients. To see how this is done, start with an image and duplicate the image layer. Apply a filter to the top layer and, if desired apply a different filter to the bottom layer. The effect simply requires you to have the same image on two layers but so that it looks different on each.
Now click the top most layer and click the Add Layer Mask icon at the foot of the Layer palette. Click the Gradient tool and select a white to black gradient. Click the Mask that you just added and fill the mask with the gradient. If you use a linear gradient you'll create a seamless blending change from one layer to the other.
When you create the same image on both layers with a different filter applied to each you can blend the two using a gradient and a layer mask.
You can use the same approach to blend two images together. Open one image and then drag the background layer from a second image into this image. This gives you one image on each layer. Add a the layer mask to the top image and fill it with a black to white gradient.
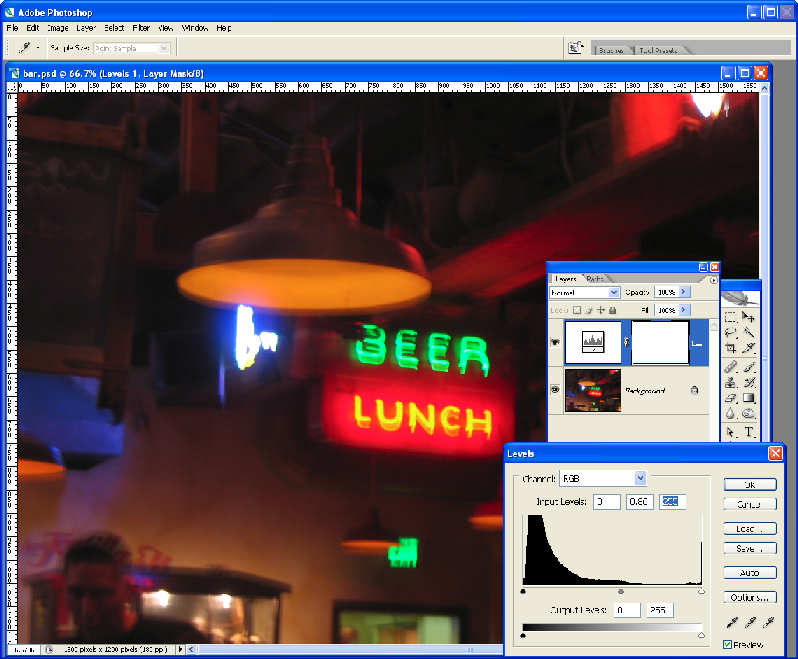
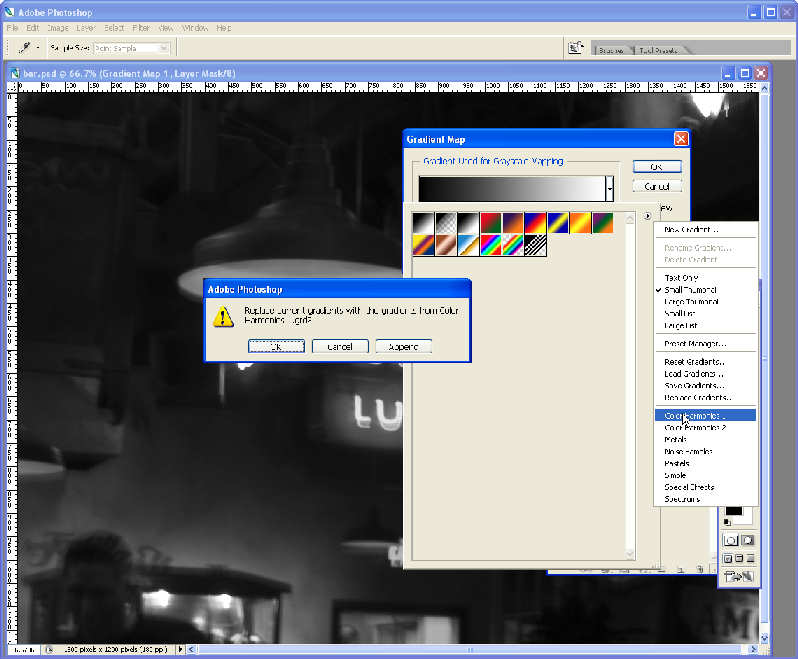
Creating a coloured effect with a gradient This effect is similar to the cross processing effect you get if you process slide film with chemicals typically used for regular colour film or vice versa.
Step 1
Step 2
Step 3
Step 4
Step 5
Step 6
(c) H Bradley, 2007-2009 |
|