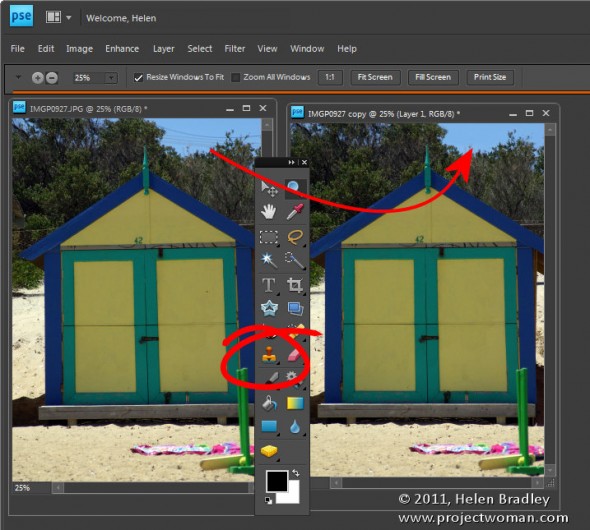
Quite often you will find that an otherwise pleasant image has been ruined by some distracting background element.
To remove this, use the Clone Stamp tool. Start by sampling an area of the image to use as the source data to fix the problem – you do this by Alt + Clicking on the portion of the image to use.
Then “paint over” the problem area. The results will be less obvious if you click with the brush rather than drag in a painting motion.
You may need to resample the source area from time to time as you work to find a good match for the area you are painting onto.
It is best to use a brush that is an appropriate size for the task – for detail work it should be quite small, for example, and it should have a low hardness value so you don’t get harsh edges on the fixed area.
If you are familiar with using layers, apply the fix to a new empty layer so that you can adjust and blend the layer later on if need be.
If you are cloning onto a new layer, make sure to have the All layers checkbox selected on the tool options bar so you sample from all the layers – the layer you’re working on won’t have any data so you can’t sample from it alone.
Other stories in this Simple Photo- Editing Workflow series:
Step 11 – Getting to black and white
Step 10 – Fixing Redeye
Step 9 – Fixing Imperfections
Step 8 – Fix Skin tones
Step 7 – Fix Color problems
Step 6 – Fix muddy images
Step 5 – Fixing under and overexposed images
Step 4 – Straighten
Step 3 – Crop an image
Step 2 – Make a duplicate
Step 1 – Assess the image


2 Comments
Post a Comment
Please feel free to add your comment here. Thank you!