

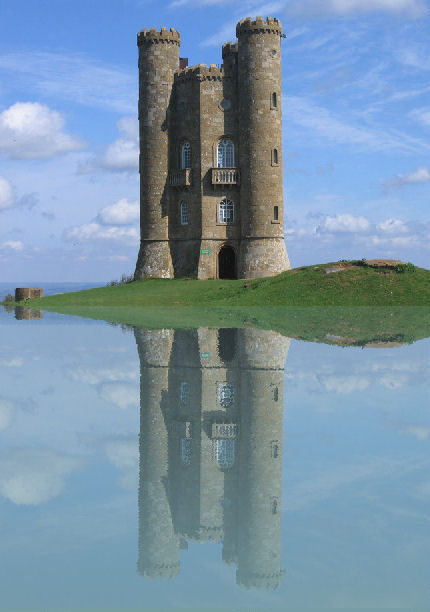
There’s something very compelling about photos that capture reflections. These reflections can come from puddles on the ground but they’re not limited to wet environments. In fact any shiny surface can reflect its surroundings.
If you’re not lucky enough to encounter a reflection worthy of capturing, you can create a faux version with Photoshop. The process is relatively simple and you can create results that vary from looking realistic to those that are playfully faux. In this article I’ll show you three variations on the reflection theme including how to make a reflection in a mirror and how to create a puddle of water where there wasn’t one before.
Before you start working with reflections, there are some things to be aware of. One of these is to avoid attempting the impossible, such as placing a person in front of a surface and creating mirror reflection of them in it. The problem here is that you typically need two images, one shot from each side of the person to create the mirror image because what is reflected in the mirror won’t be what you’re seeing in front of it, as shown in Fig 1.
The easiest reflections to create are where the reflective surface is below the object being reflected in it. Examples of this are reflecting a building or scene in a lake or pond. This type of reflection requires only one image to achieve a semblance of reality. Another type of reflection that it simple to achieve is where you show the reflection but not the original object – in this case, almost anything can be reflected.
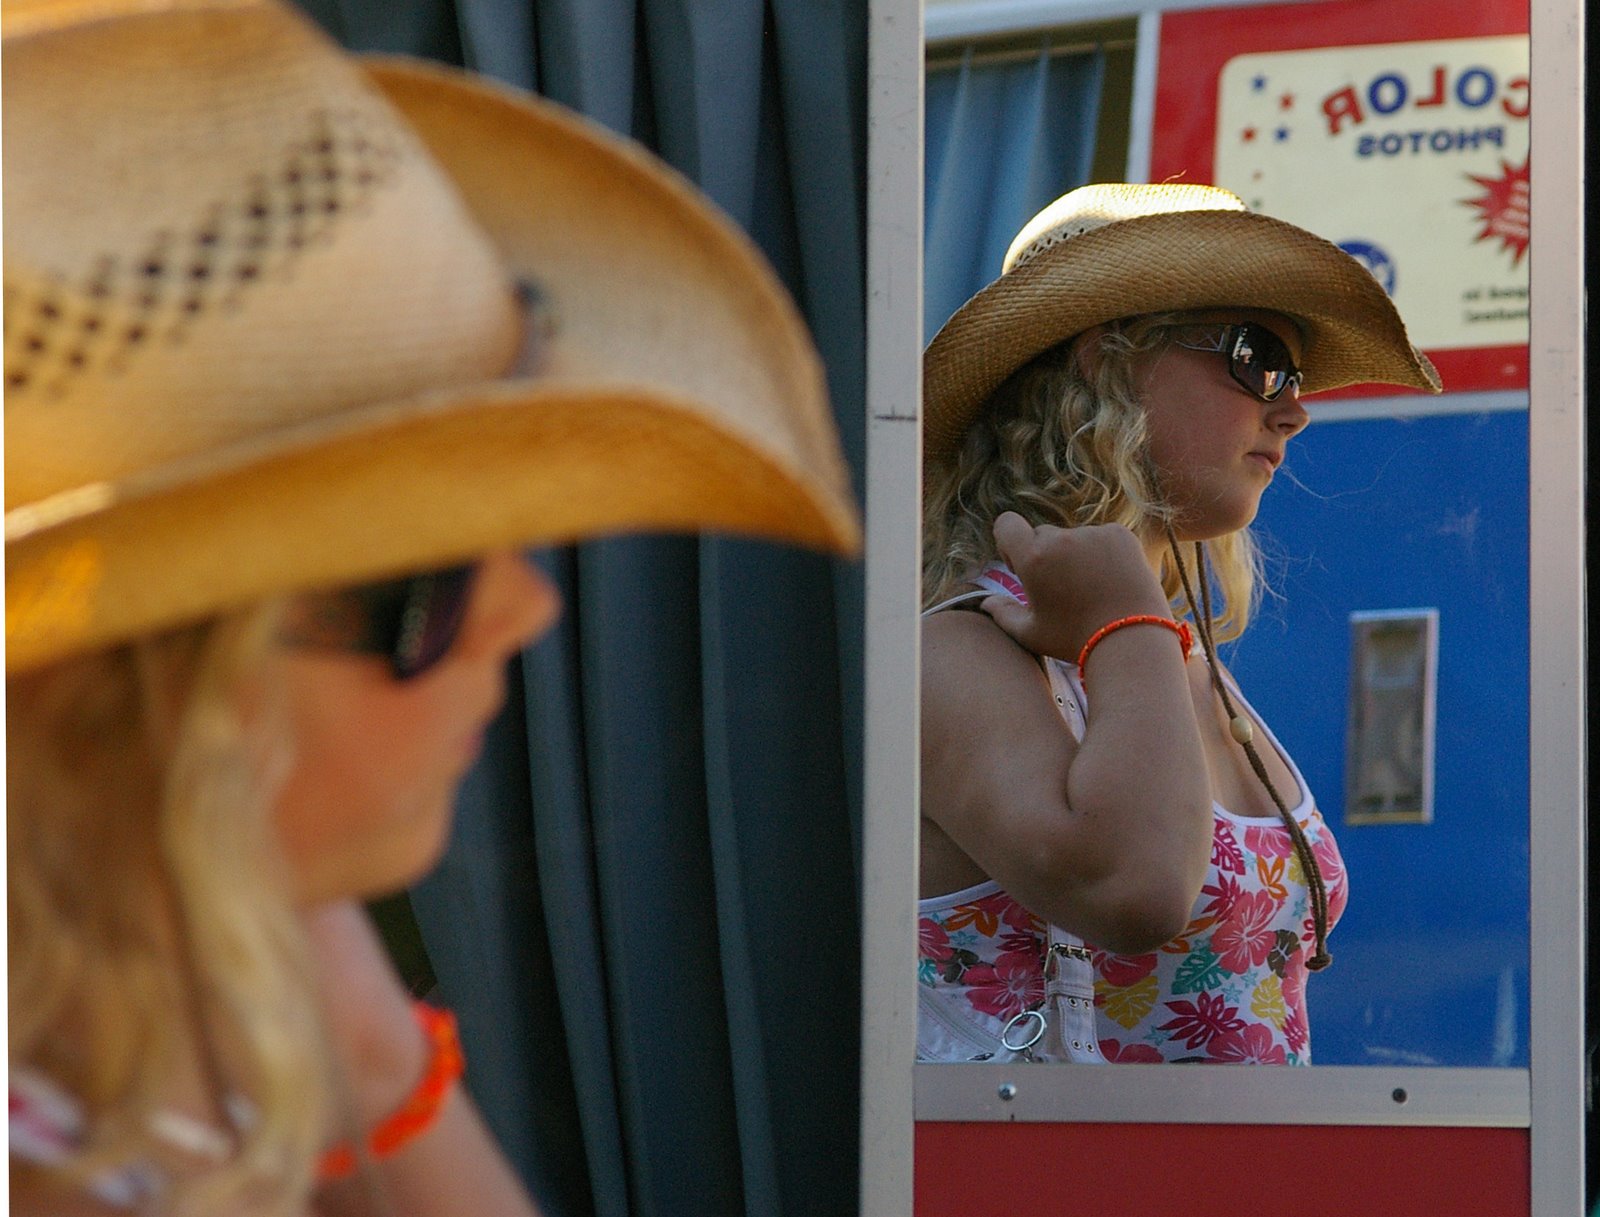
Fig 1 This is a photo of a person reflected in a mirror, to recreate this digitally you’d need two images, one shot from either side of the person.
Water reflection
When you think of reflections, you’ll probably think first of a scene or building reflected in a lake or large body of water. These reflections are fairly simple to create. Start with your image open in Photoshop and double click the background layer to make it into a regular layer.
Enlarge the canvas so you have room for the reflection by choosing Image > Canvas Size and read the current size from the top of the dialog. You’ll need to double the height so, to do this, click the Relative checkbox and the box in the top center of the 9 boxes in the Anchor preview. Type the value of the current height of the image into the dialog and click Ok, (see Fig 2). You should have lots of extra room below the image.
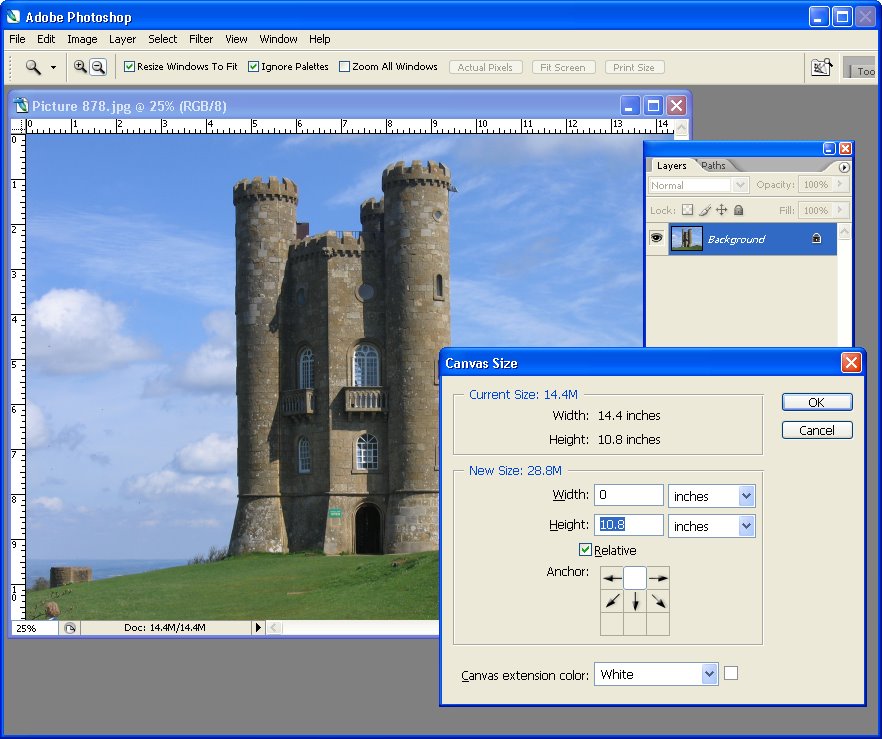
Fig. 2. Add more canvas to the foot of the image so you have room for the reflection.
Duplicate the image layer by right clicking it in the Layer palette, choose Duplicate Layer and type a name for this layer – Reflection – and click Ok. Select and delete any portion of the bottom of the image you don’t want to use. Click the layer name to select the layer and flip it by choosing Edit>Transform>Flip Vertical. Use the Move tool to drag the flipped version of the image down below the original image and align them carefully.
The reflection is in place but it’s probably won’t be particularly realistic. To add realism, add a ripple to the reflection layer by choosing Filter>Distort>Ripple and select a ripple amount of either Small or Medium. This adds a subtle distortion to the reflection and makes it look more like water, see Fig 3.
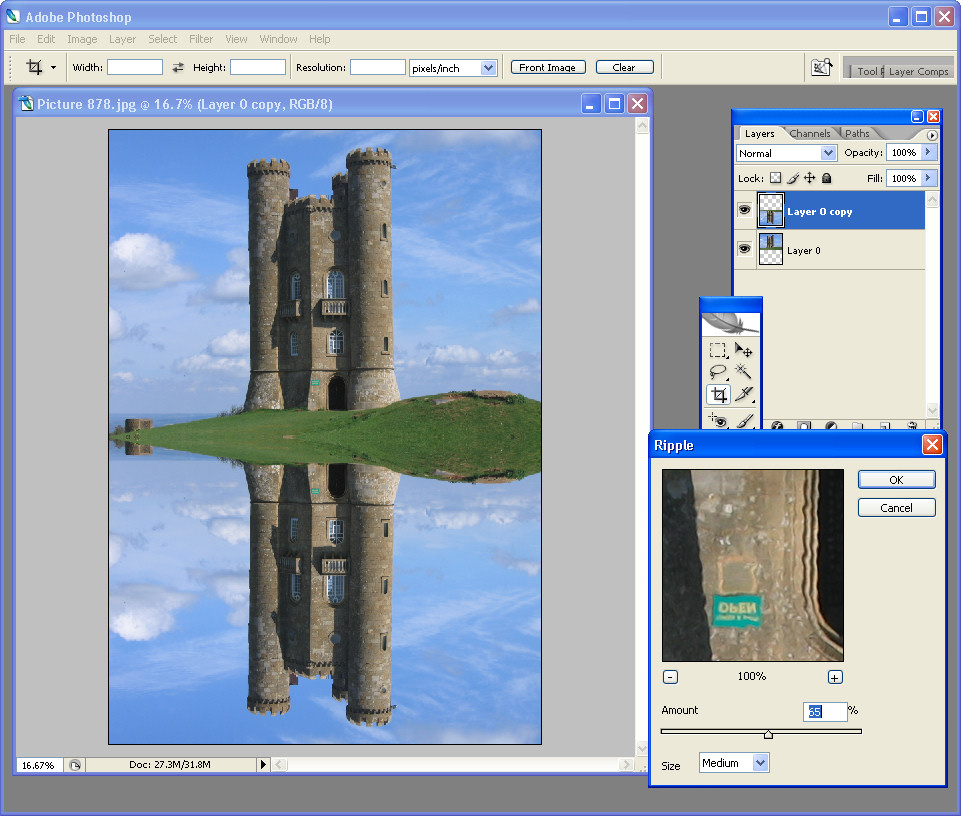
Fig 3 Add a ripple filter effect to make the reflected area look like water.
Because not all reflections will be perfect you can make the reflection disappear as it moves father away from the reflection line. To do this, add a new layer using Layer>New>Layer and fill the layer with black, muddy brown or blue/grey and drag it under all the layers. Return to the reflection layer and add a layer mask by clicking the Add Layer Mask icon at the foot of the Layer palette.
Click in the layer mask and click the Gradient tool on the toolbar. Select a White to Black gradient and set the style to Linear. Drag vertically on the image with your mouse to fill the mask with the gradient. It should be filled with white at the top and black at the bottom. If not, click the Reverse checkbox on the toolbar and repeat the gradient fill until you get a transition from fully opaque to partially transparent for the reflection layer. As you do this, the underlying black or brown layer will show through, see Fig 4.

Fig 4 The reflection has been made partially transparent so it’s not as perfect and it’s more realistic.
Other fine tuning options include duplicating the reflection layer and blur this duplicate by choosing Filter>Blur>Gaussian Blur. Blend this layer into the one below by decreasing its opacity.
If having a reflection appear as a straight line along the image doesn’t look good, you can clone elements from around the reflection to make it less obvious. To do this, add a new layer to the image and drag it on the top of all the layers. Select the Clone Stamp tool and ensure the Sample all Layers checkbox is selected. Now Alt + Click on an area to sample it and paint over the horizontal line to soften it. Cloning onto a new layer allows you to edit the cloned area separately from the original image. In fact, you may notice that nothing we’ve done in these steps has affected the original image.
Crop the image to create a more interesting result. For example, crop so the line between the original and the reflection is along the top third of the image so you’re showing more of the reflection and less of the original or crop so it’s along the bottom third so you see just a little of the reflection, see Fig 5.
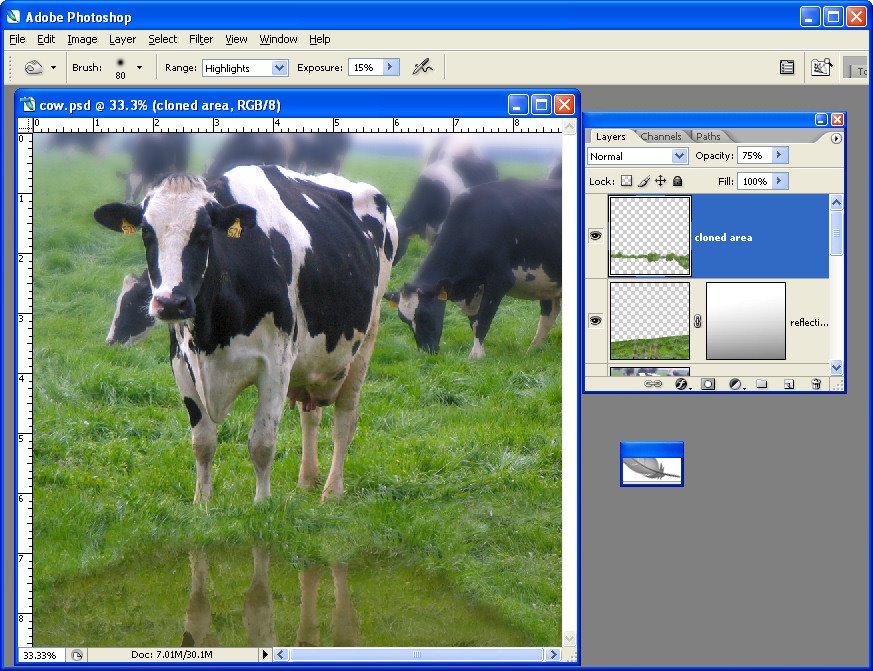
Fig 5 This image has the reflection line softened by cloning and it’s cropped so only a little bit of the reflection shows.
Post a Comment
Please feel free to add your comment here. Thank you!